The house I recently moved into has a very nice looking two car garage that is completely dry walled and had some storage shelves on one wall. Unfortunately, the shelves were only supported with lag screws from the ceiling and as I added storage bins, they started pulling loose from the ceiling. I realized this would not suit my storage needs and set about removing and replacing them. Before I continue, I must admit I have not done much carpentry over the years. But what the hey, never too late to start! Right?
For this little project, stronger and larger was my mantra with the support coming from the floor up, instead of the ceiling down. The original shelving was constructed with 2×2’s and 3/4″ planks. I decided mine would have a 2×4 frame and 1/2″ particle board shelving. I thought of using plywood, but I chose particle board because it’s strong enough when supported from below and it has a smooth finish that I could paint without much sanding.
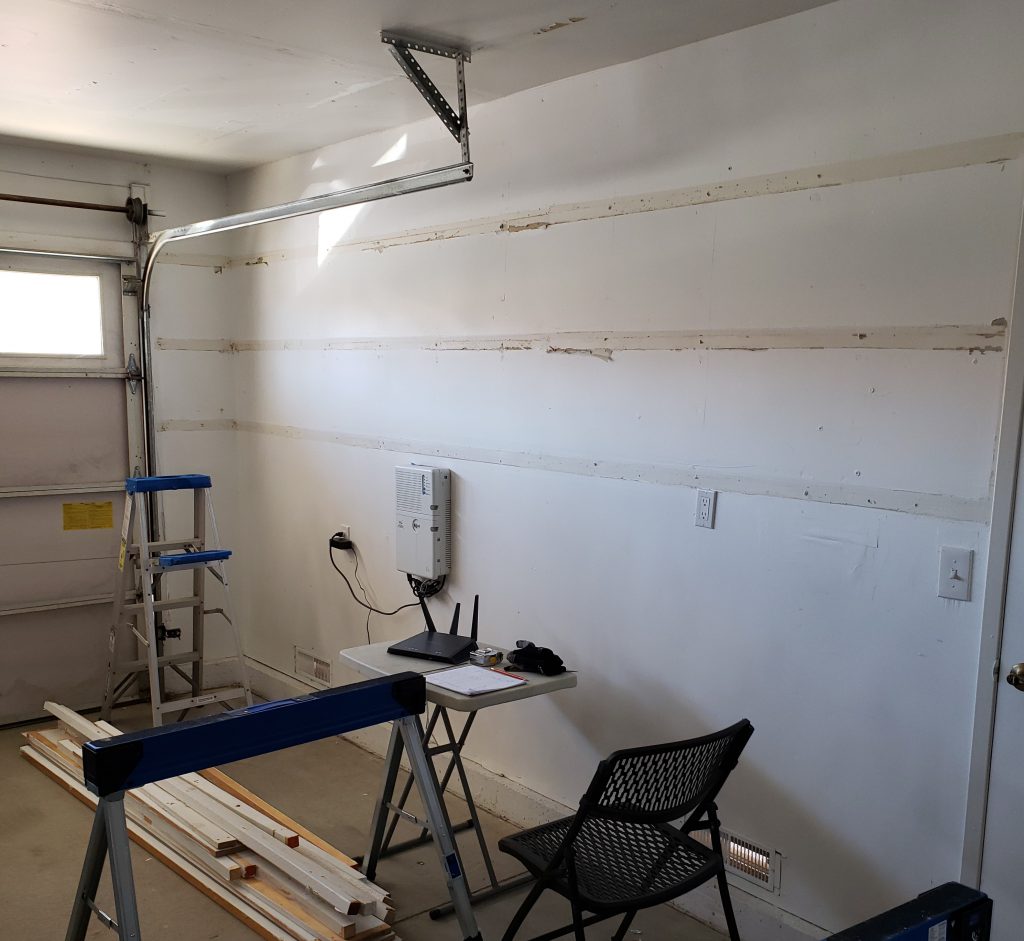
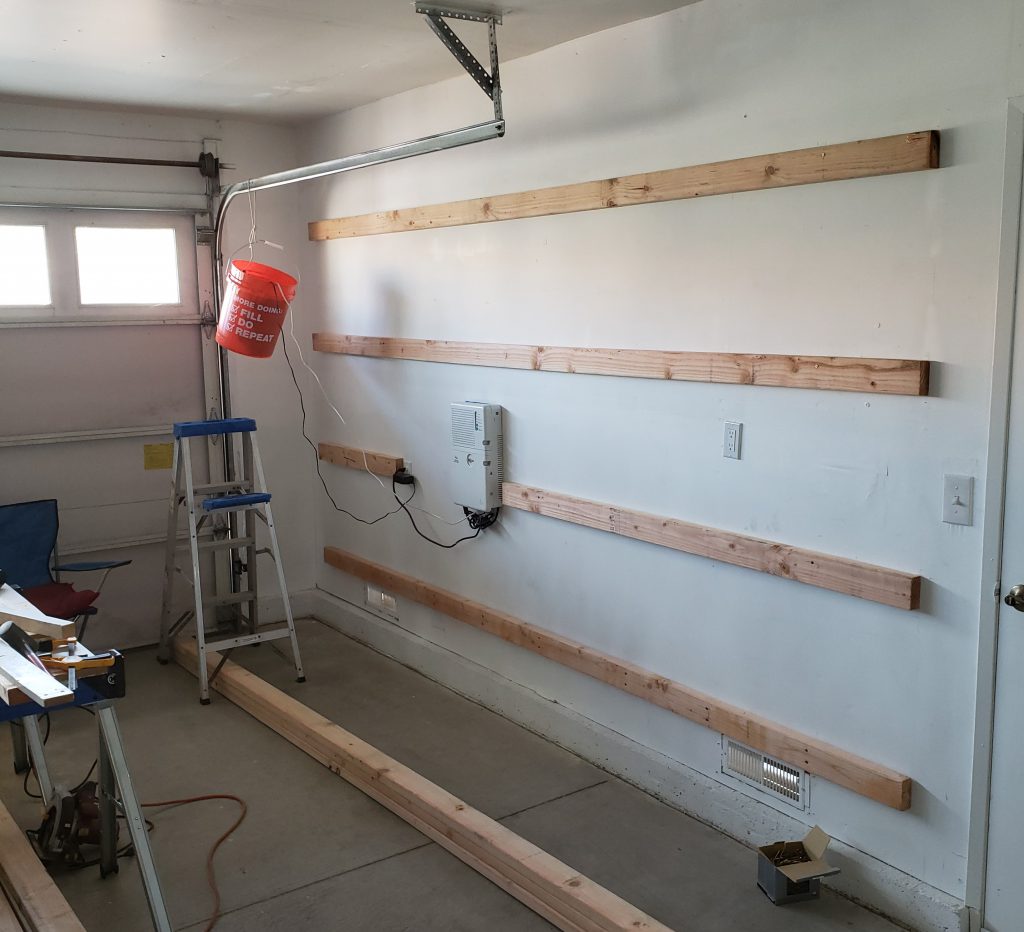
As usual, I forgot to take a picture of the original shelving. Here is empty wall and the pile of lumber on the floor. The wood was all good and I will figure out something to do with it later. I might mention a little trick I didn’t think of: If you are removing painted wood attached to drywall, take a close look at any edges where paint has adhered to the drywall. If you run a utility knife over those corners, you may not have to repair as much drywall paper as I did. Since I did not take my own advice, there were several spots in the drywall that needed repairing before I could paint the wall.
According to several websites, when doing this type of drywall patching, the best bet is to go to each torn area and use a utility knife (better late than never) and cut out the loose paper at the point where it is still bonded to the wall. You can then use drywall mud to cover. Since mine were mostly small areas, I used a lightweight, fast drying spackle. Most articles I read said you should also treat the drywall with sealant, which I did not do. Will I pay for that later? My reasoning was, it’s a garage! So, after the spackle was dry, I sanded and painted the wall.
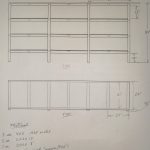
Drawing
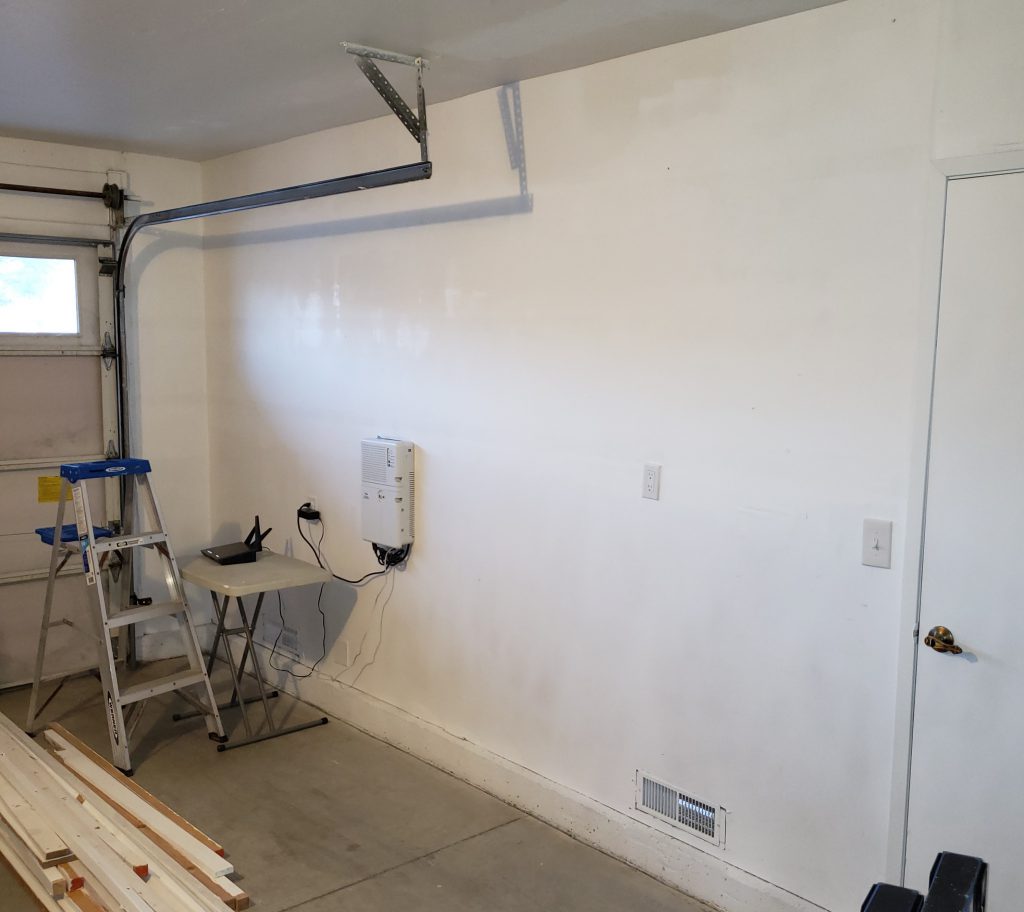
Now I was ready to figure out what I wanted to replace the old shelving with. I had a pretty good idea, but having the bare wall to measure made it easier to visualize and plan. There were a few things I wanted:
- Use almost the entire wall, floor to ceiling.
- Allow for the Internet box, electrical outlets and light switch.
- Install the lowest shelf above the two floor vents.
- Provide clearance for the garage door tracks.
- Have shelf height at a minimum of 16 inches, which accommodates a 27 gallon bin.
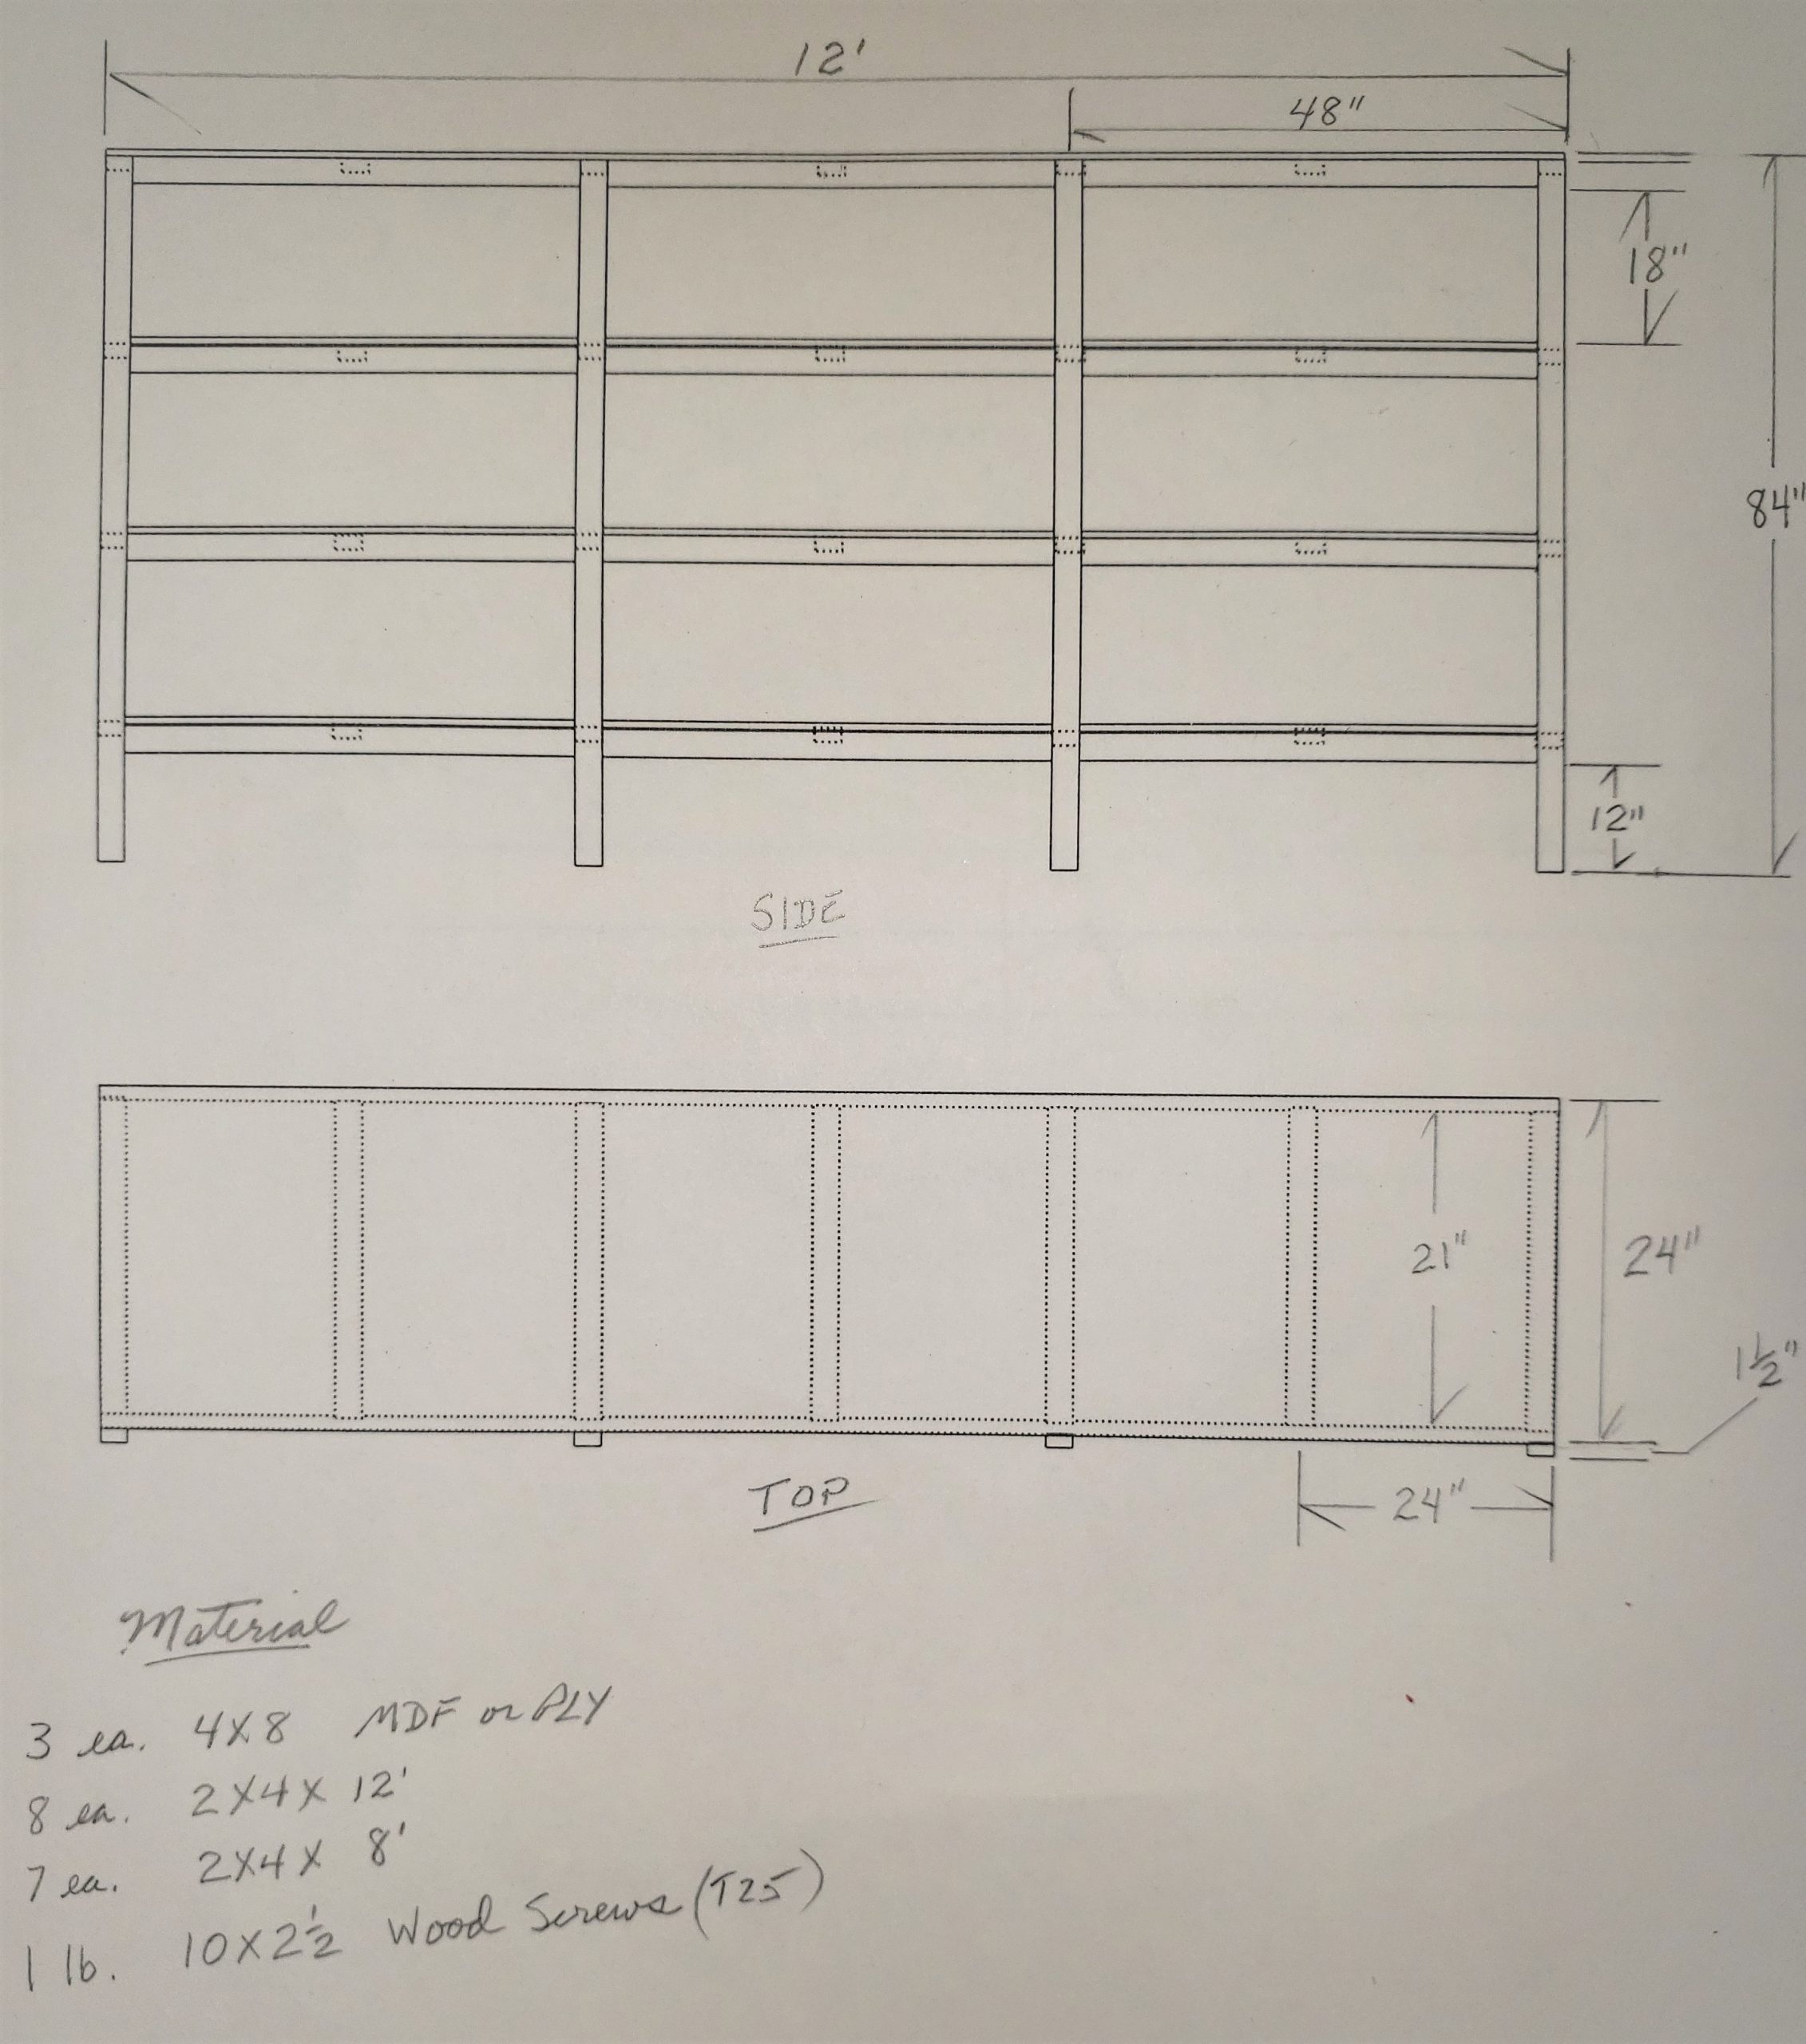
I took some measurements and drew a plan for a 12 foot long frame as if there were no obstructions on the wall. I decided on about 7 feet high which gave me around 18 inches on each shelf, including the top shelf, because my garage ceiling is over eight and a half feet. Click on the thumbnail of the plan if you are interested.
There are a couple of places where my actual installation differs from the drawing due to the wall issues listed above. One glaring difference is the upper left corner shelf, which I left off completely due to the garage door track. Another is the addition of a removable shelf portion, to allow for access to the Internet box. The router is another story, which I will deal with later. At the bottom of my drawing is my materials list. The tools I used are just the basics; drill, sander, rotary saw, square, level, and clamps. The frame is assembled with the 10x 2-1/2″ wood screws. And the shelves are held in place with 1 inch or 1-1/2 inch wood screws, which I neglected to add to the materials list in the drawing.
To install the back board supports, I would have used a stud finder, but since it’s a garage the drywall is just rough finished and the stud nails were easy to see. So starting at the lowest level I measured 12 inches up, and attached one end of the lowest wall support. Since the garage floor slopes slightly down towards the street, I used a level instead of measuring the other end and used two 3″ wood screws at each stud. I did the same for all the wall supports, with the exception of 21 inch break in the second support for the Internet box. I used the entire top wall support, even though the upper-left most shelf was left out.
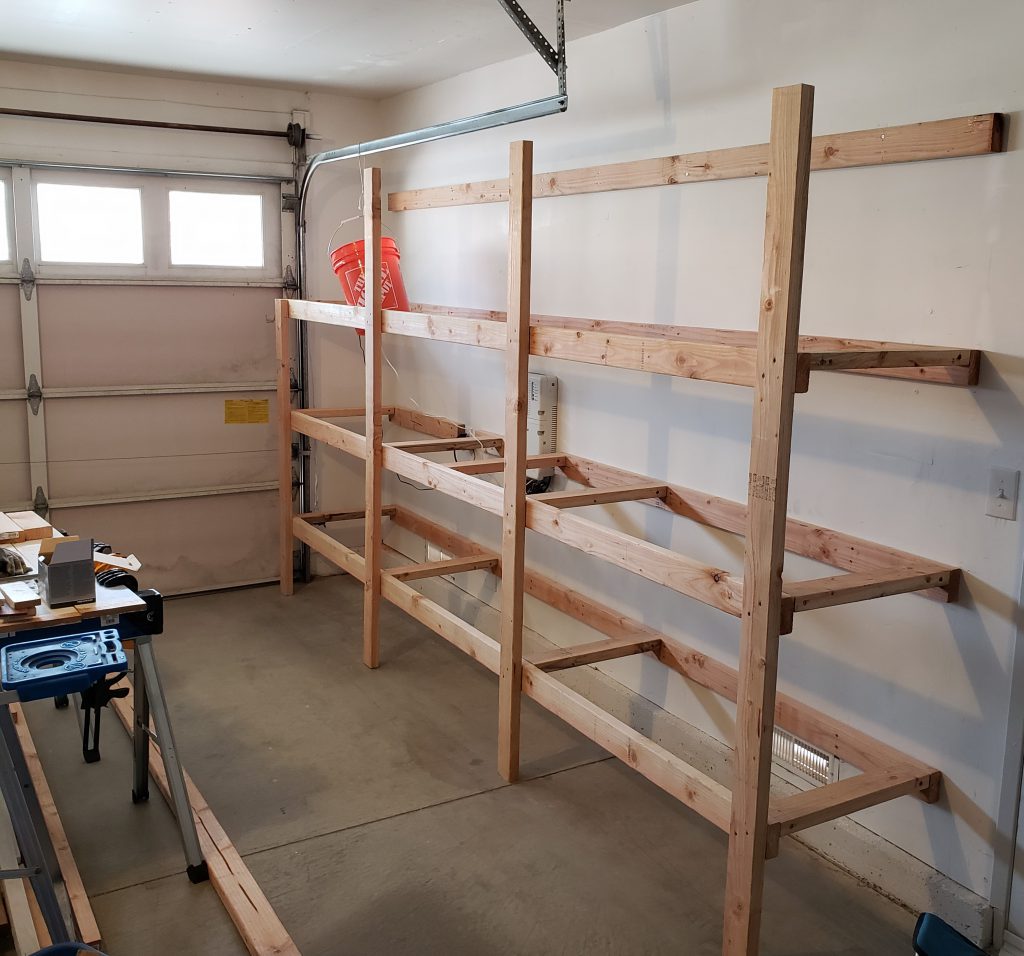
In many online videos, some folks put the outer supports against the inner supports and drill them. Since my garage has slope both towards the street and towards the center, I decided to clamp the outer supports, level and square everything. Then drill. It may have taken a little longer, but I am happy with how close the measurements came out. It was also close enough, by my standards to being square and level.
All the cross members were set at 2 foot centers, except where the Internet box was. I installed them with the 3-1/2 inch side up because I wanted the clearance underneath to able to slide larger bins around without having to take them all the way out of the shelf. I think they provide enough support anyway and I attached them from underneath using pocket holes.
With the basic support structure complete, it was time to install the particle board or plywood. Boards such as plywood and medium density fiberboard (MDF) usually come in 4×8 foot sheets. The idea behind my shelving plan was to use three sheets. Each sheet was ripped into 2×8 sheets. You can have the sheets cut for you at the lumber yard. It can save you some work and also save you from loading and carrying full sheets. Again I didn’t take my own advice. It was too crowded that day at and I didn’t want to wait. You know, pandemic and all. I cut them on my garage floor with a circular saw.
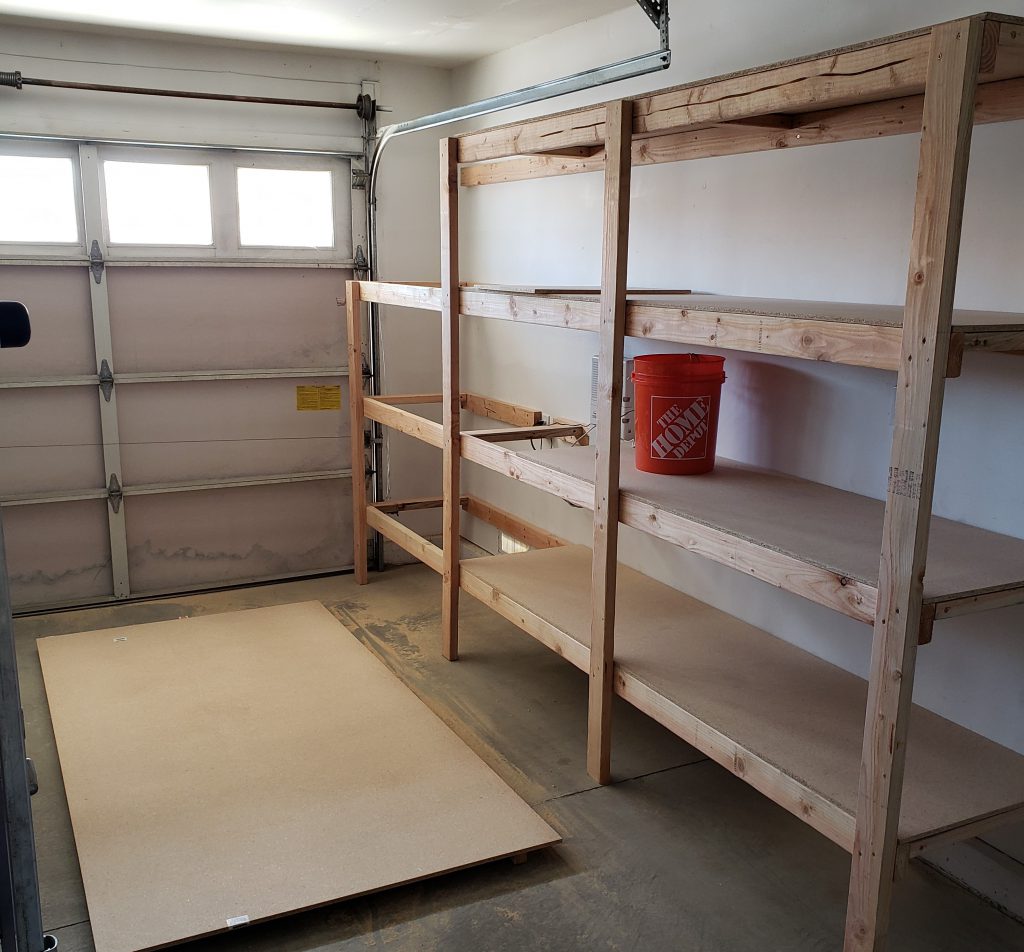
After ripping each sheet, if you are not satisfied with your cut, you can just use that edge against the wall. These two foot wide half sheets then slide in one end of your frame and you can use the 1-1/2 inch wood screws to anchor to the frame. The sheets can be clamped down and drilled in place. No need to go overboard with the screws for these sheets. They are only partially holding them in place. The frame is doing the lion’s share.
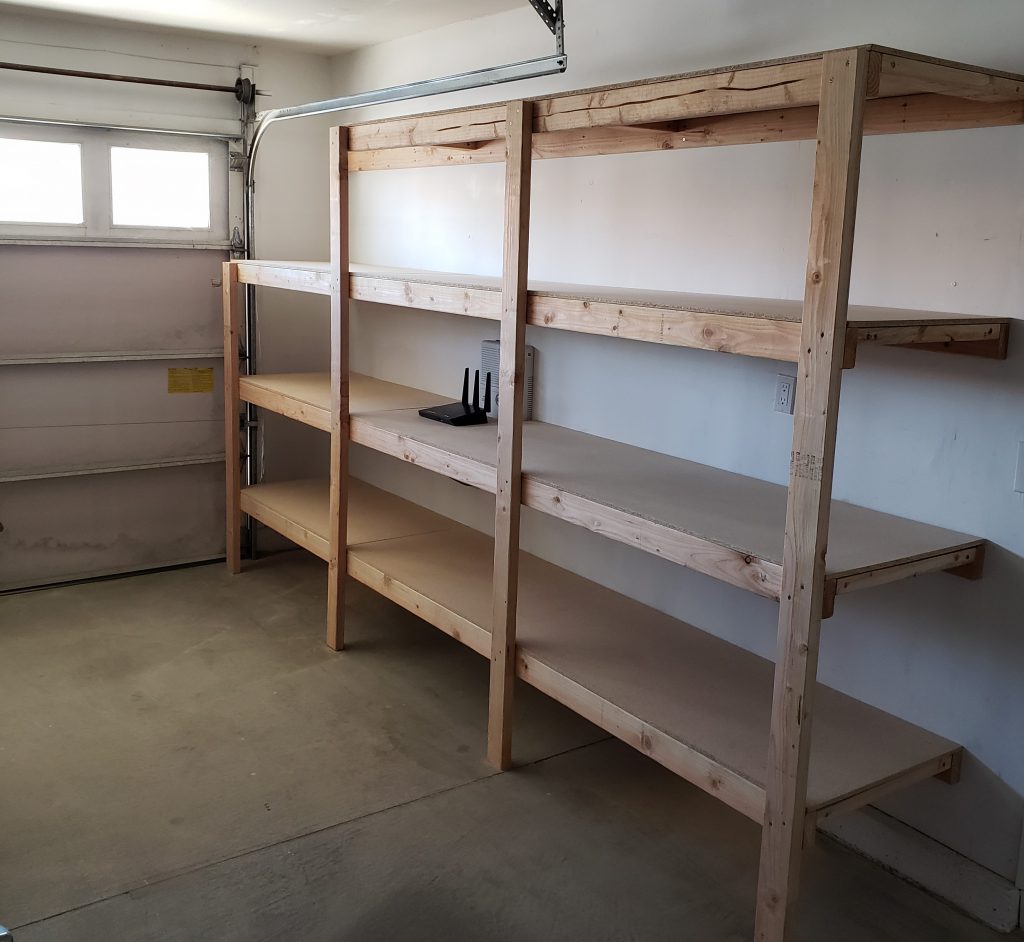
To finish this job off I did a light sanding with an orbital sander, wiped everything down and painted using flat white paint with a LPHV paint sprayer. Here is a gallery of the last few photos.
Unpainted shelves. 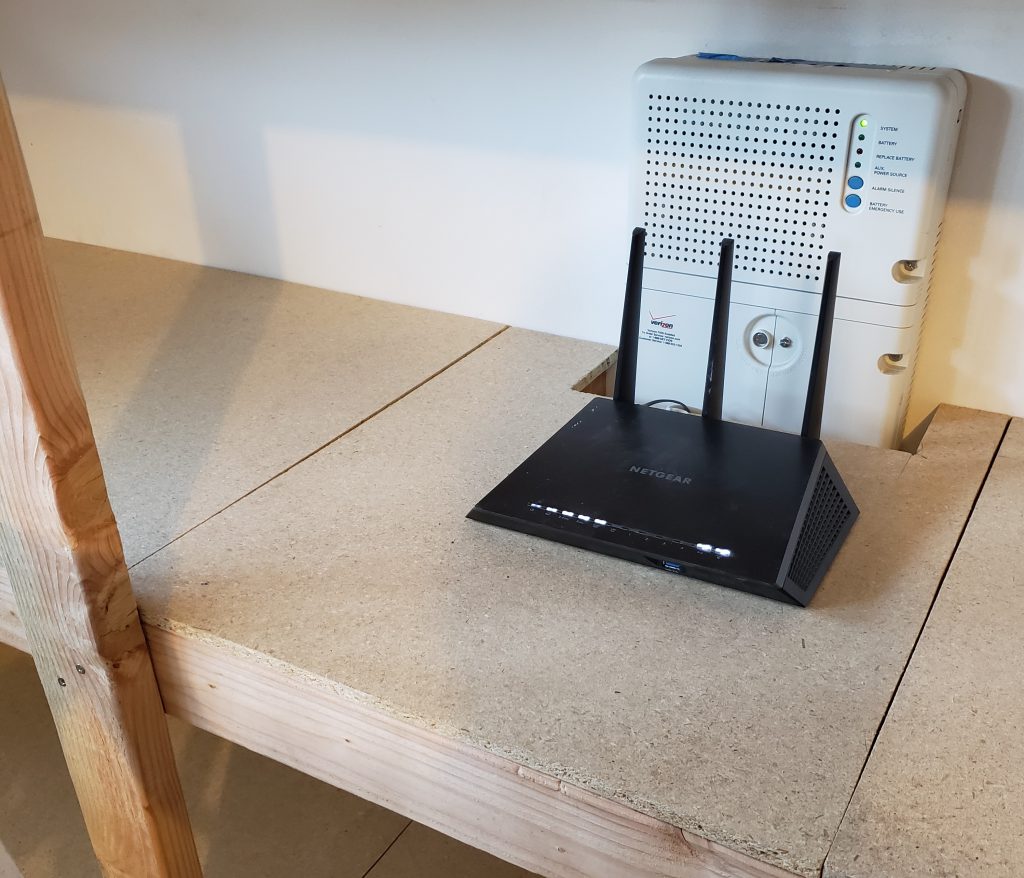
Removable section. 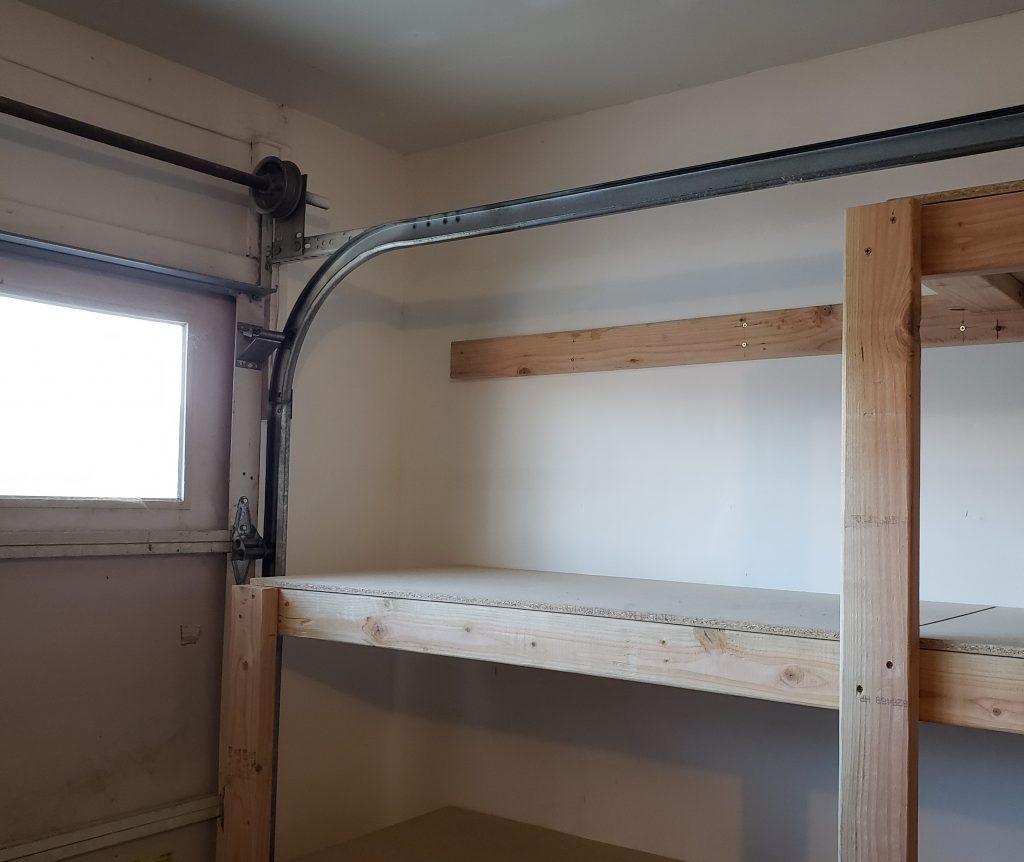
Garage door clearance. 
Wall vent clearance. 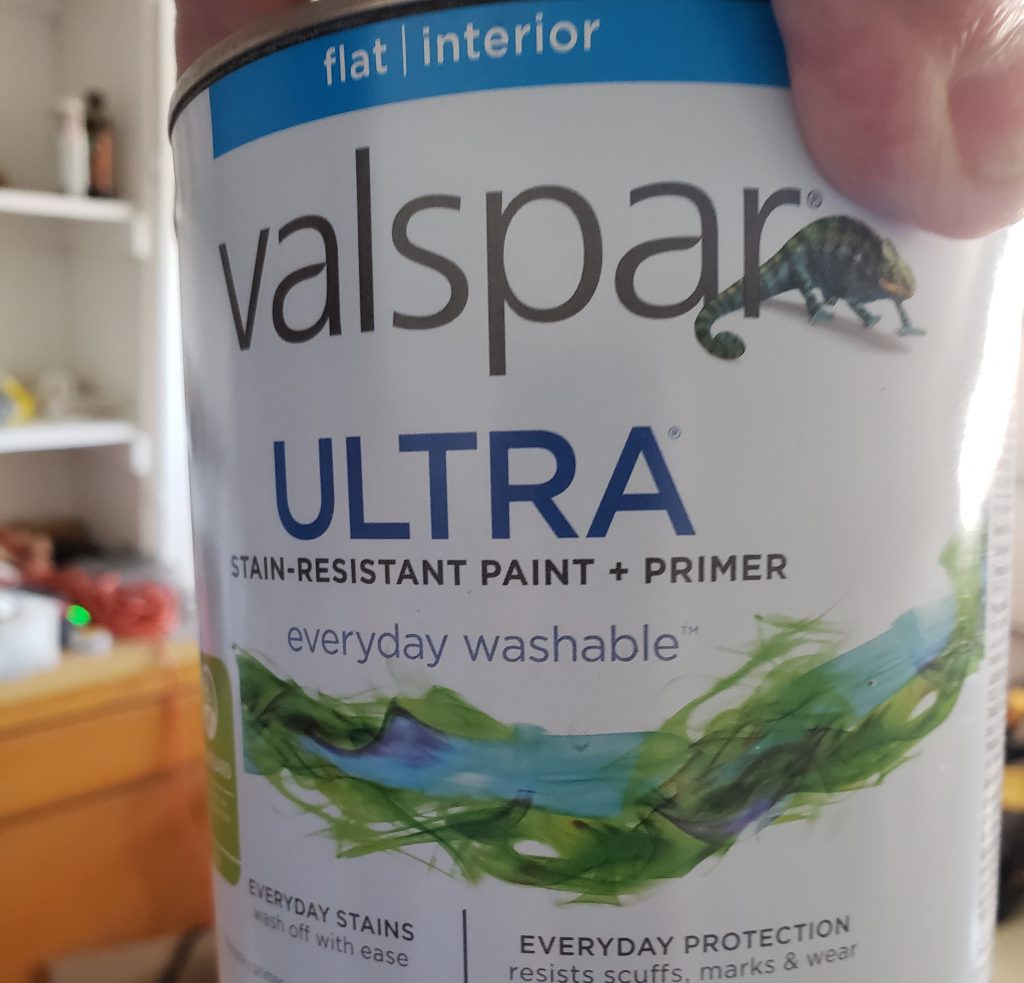
Flat white paint. 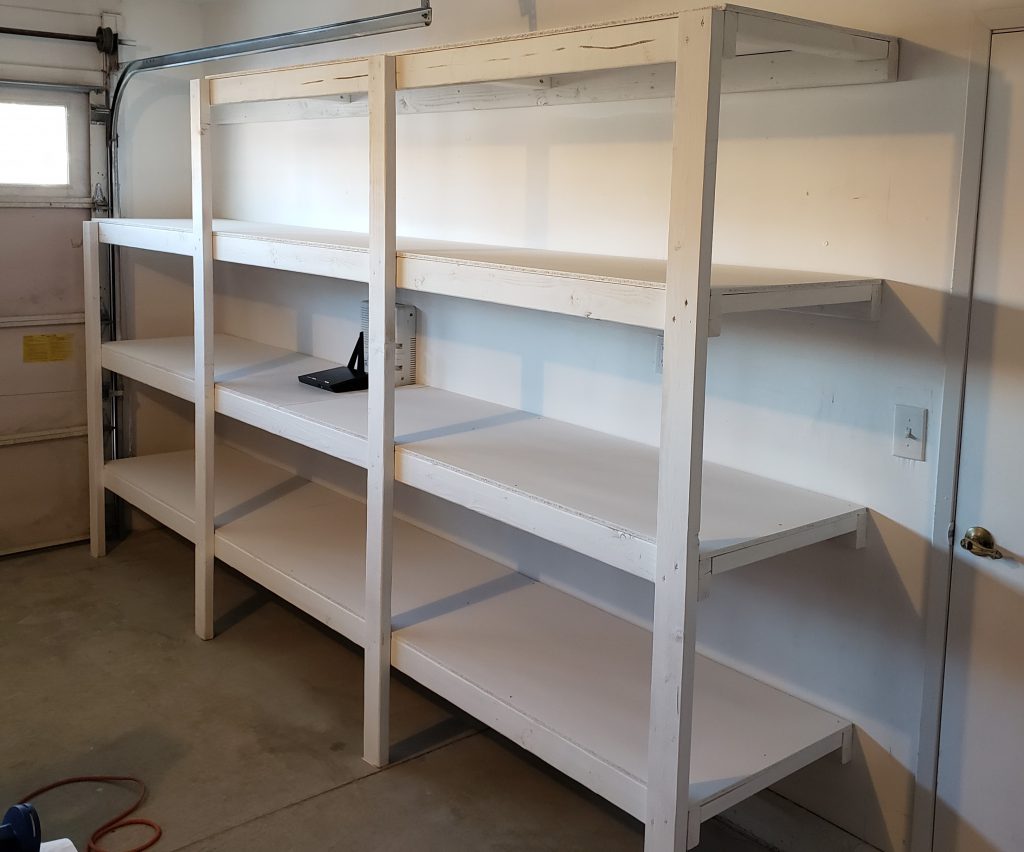
Finished garage shelves. 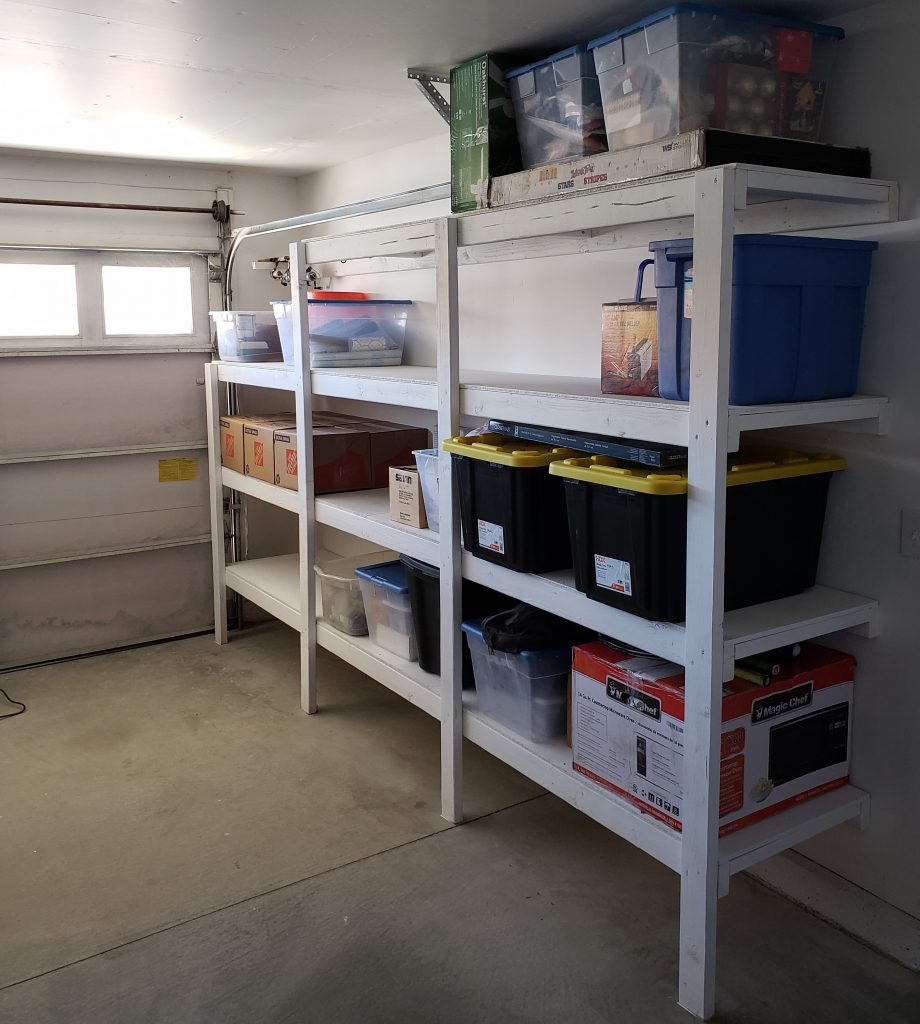
On to the next thing.
I am definitely learning as I go. Here are just a few points I will try to remember. Not everyone will agree with these, but this list is mostly for me to remember.
- Cut edges of painted wood before removing from drywall
- – Keeps the paper from ripping
- Always use Torx screws
- – Driver grips better than Phillips
- Use mini-bits with a driver extension
- – Mini-bits are cheaper and you won’t be replacing the extension
- Don’t use the drill for driving screws
- – Seems like a no brainer but I often pick up the drill to drive screws and realize after a few minutes I’m doing a lot of extra work.
Thanks for taking a look at my article. Leave a comment if you’re so inclined..